OBS is a handy piece of software for capturing and streaming video. I use it when I’m doing tutorials for work but I’m also going to start pushing “How To” videos so I thought I’d do a quick overview of the set-up process.
- First, go to https://obsproject.com/download and download the installer that works for your set-up. I’m using Windows 10 64bit for this example
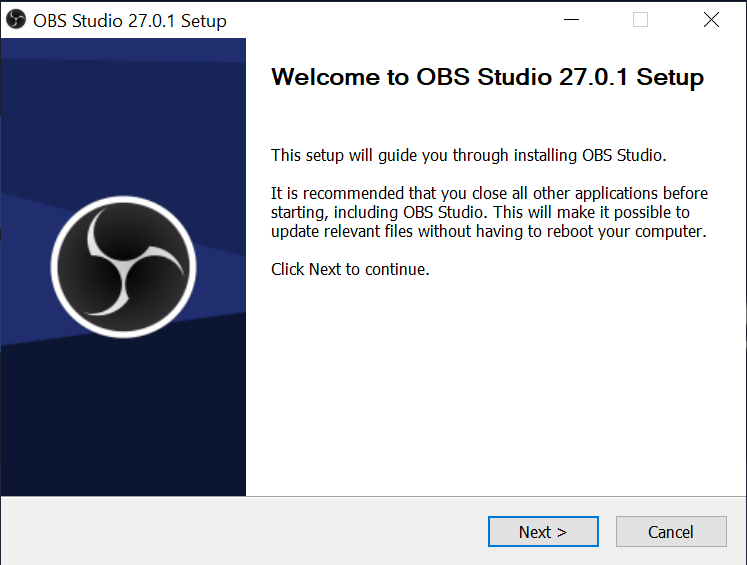
- Run the installer and you’ll see the screenshot below. Hit “Next”
3. Accept the license information by pressing “Next” (if you’re happy with it that is)

4. Set the install location or leave it as default and click “Install”. Files will install to the selected location.

5. Click “Finish” to complete the install when you see the screen below.

6. When the app starts, select the type of activity you’ll be doing (streaming or recording). I set to “Recording” and then upload to YouTube later. Once you’ve made your choice, click “Next

7. I record from a specific monitor (selected in the pulldown in the screen below). I use the center monitor of the three I have and then put OBS on the right monitor so I can start/stop recording and change settings while recording as needed.

8. OBS will figure out the best set-up for you and then show you the settings. In my case the monitor I’m recoding from the UHD so it’ll auto-scale down to 1920×1080 to avoid too much bandwidth use.

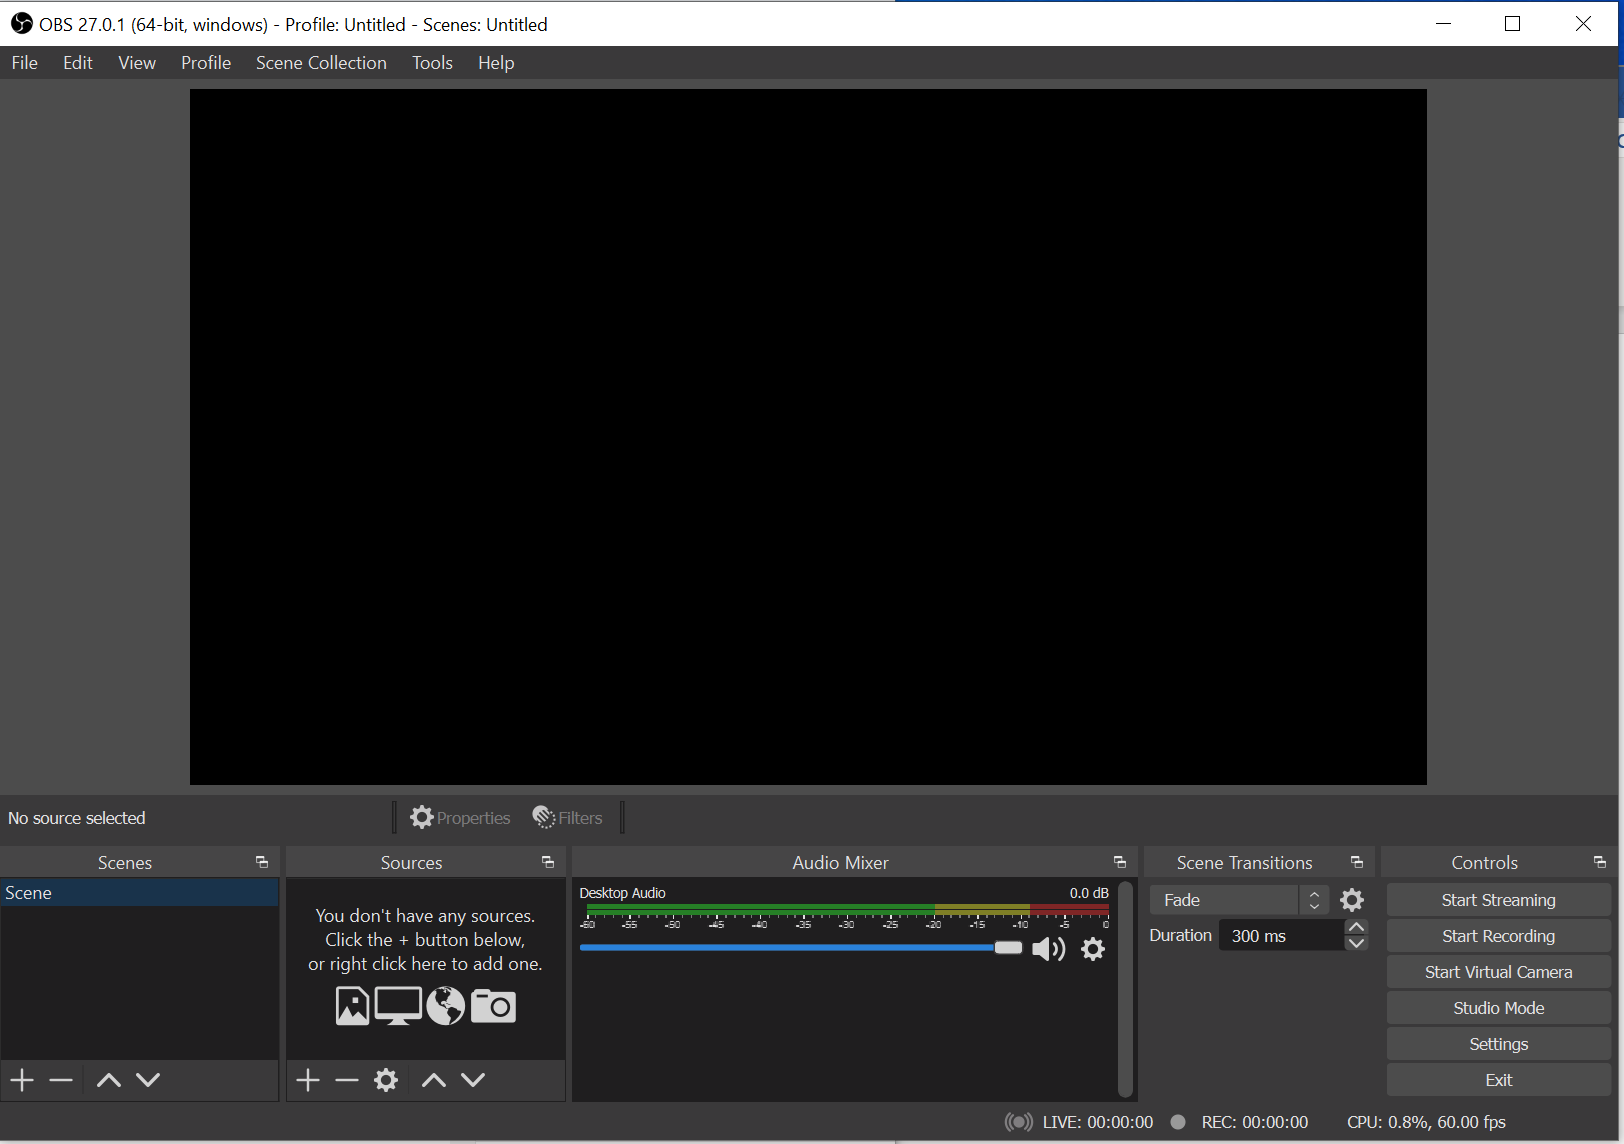
…and that’s it. When you hit “Apply Settings” it’ll start the software and you’re ready to go.
If you’d like to add a webcam then take a look here for more info
If you’d like to add a display capture then take a look here for more info

Leave a comment